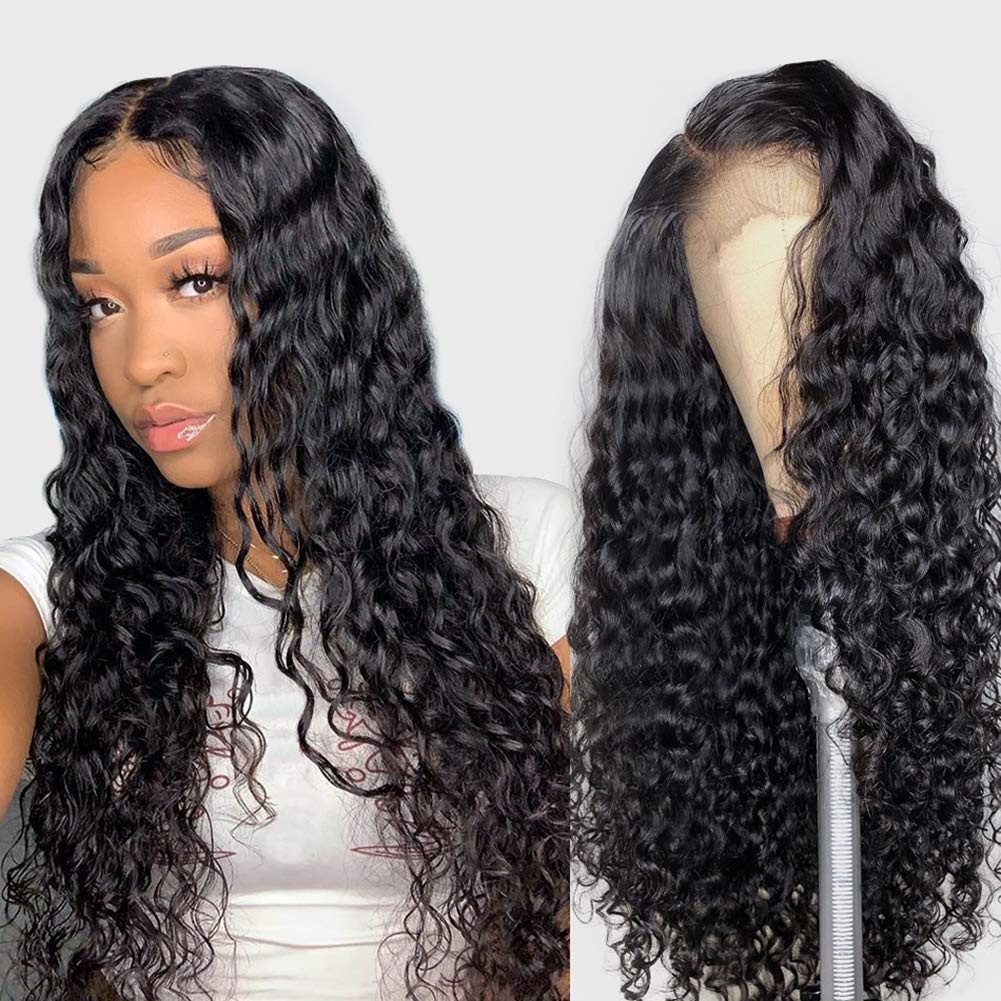
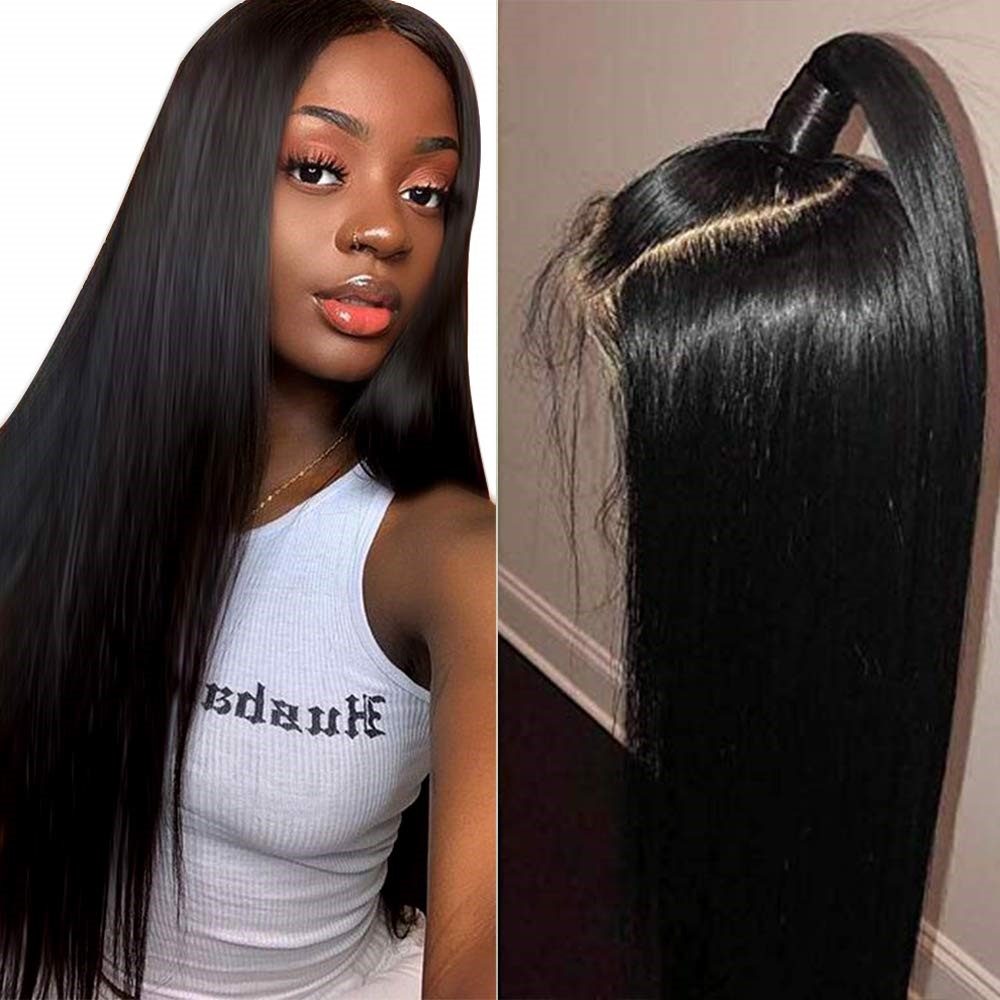
There are different types of wigs including closure wigs, frontal wigs, and full lace wigs. Among them, the full lace wig requires a skillful wig maker with long hours of working. Whilst, the others have the same method that you can do it yourself. In this post, we will guide you on how to make a wig at home. Let’s go!
What to prepare?
Depending on the wig you intend to make, you need to prepare the relevant hair such as bundles, a lace closure, or a lace frontal. Besides hair, you need:
– A wig cap
– A wig block
– Scissors and tape measure
– Pins and elastic bands
Two methods of how to make a wig are consisting of the sew-in method and the glue-in method (or quick weave). Let’s take a quick look at them and choose the most suitable for you.
| Sew-in method | Glue-in method | |
| Pros | – Durable – Easy to remove – Low maintenance – No bad effect on the hair extensions | – Apply quickly – Require less skill – No need to maintain frequently |
| Cons | – Time-consuming – Require skillful hands | – Low duration – May harm the hair extensions |
If you are not clever or confident enough, we highly recommend beginning with the second method. On the other hand, let’s choose the first one.
How to make a wig with the sew-in method?
As its name, you need to get a curved needle and thread to start. Now, it’s time to start.
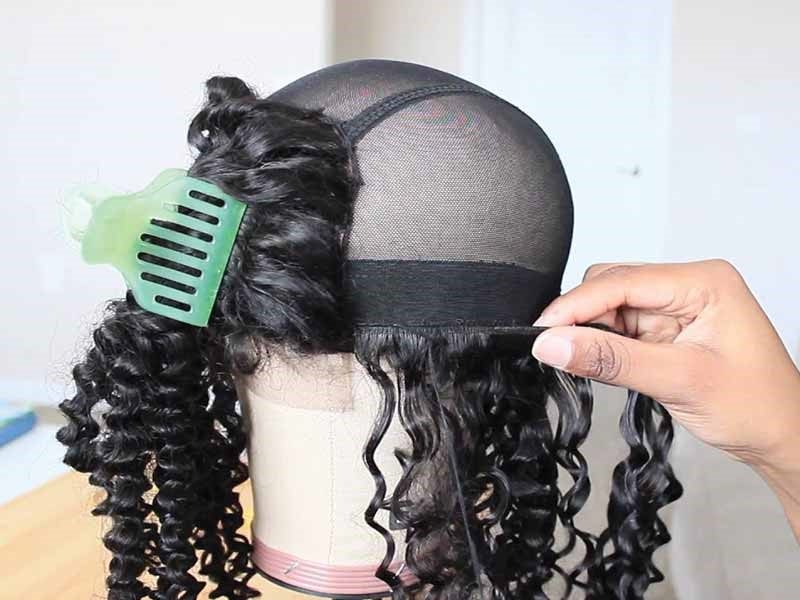
Step 1: Fix the wig cap to the wig block
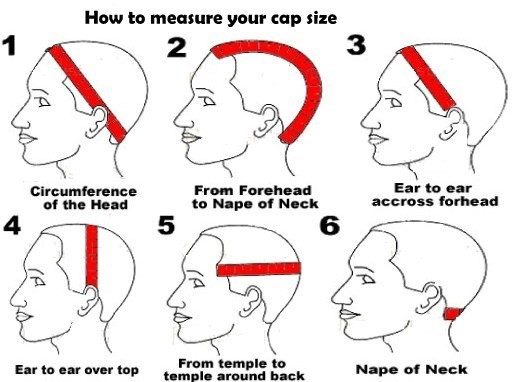
Before wearing the wig cap to the wig block, you need to measure your head size. Afterward, you need to mark the head sizes to the wig block and wear fix the wig cap to it with pins.
Step 2: Start with the lace closure or lace frontal
The lace closure/lace frontal is to hide the area behind the hairline. You can place the lace closure to the left, to the right, or in the center to make different hair parts. Whist, the lace frontal has one way to set only.
You need to use the pins to secure the first, then, sew them into the wig cap from side by side. It is much better if you buy the products with borders to support the application process and last the wig longer.
Step 3: Attach the bundles
You should tie the hair of lace frontal/lace closure to do this step quicker because we will start at the nape. You can measure and cut the weft into pieces, it will take less time to apply hair. However, it damages the bundles and shedding may happen. Therefore, it is the best option to keep it originally.
You will make a Z sew-in hairline, working from the neck up. Double knots on two sides will keep the hair stay still for long. You have to repeat until the bundles meet the lace closure/lace frontal.
Take note: Don’t make it too thick on the top of your hair will look fluffy and unnatural.
Step 4: Finish the wig
You will need to touch your wig up so it can look perfect on you. A simple trimming may help. You can also create different patterns to your closure wig/frontal wigs such as deep curly or body wave hair for a fashionable and seamless hairstyle.
How to make a wig with the glue-in method?
The fabric glue is indispensable for a quick weave. You need to do step 1 as the sew-in method above and also start with the top.
Be generous when applying glue to the lace, however, if you apply too much, it may penetrate and harm the hair. Then, install the lace to the wig cap. A blow-dryer will make sense to fasten the process.
For this method, you should measure and cut the track of bundles, then apply some glue on both sides to prevent shedding. Afterward, gluing them from the nape to the top. When you’ve done, style the wig before using it.
Here are some guidelines on how to make a wig. The last words we want to say, you should store the wig in the wig block so that it can stay beautiful and healthy. If you want to buy high-quality lace closure, lace frontal, and bundles, contact Be9hair. We will support you 24/7 for a new look.


